
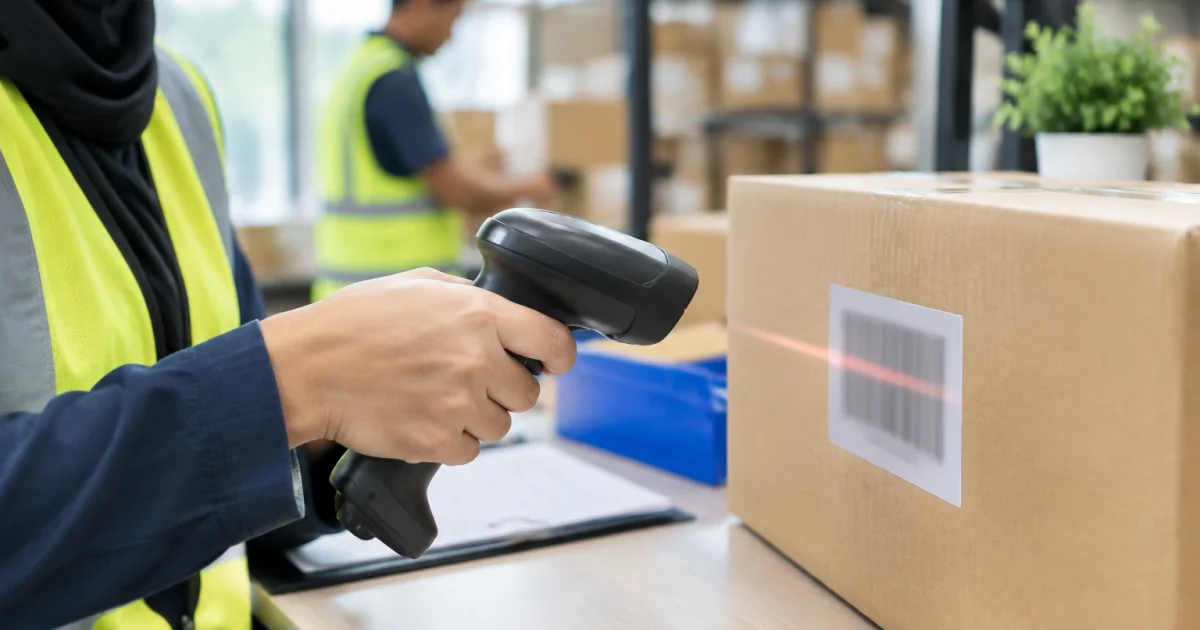

When a barcode fails to scan, the cause is usually design or production—not “a bad scanner.” Common culprits include the wrong symbology, bars that are too small, missing quiet zones, low contrast, glare from glossy materials, or print settings that soften edges. This guide is for operations teams, product owners, and designers managing barcode label printing malaysia where the same SKU must scan reliably at receiving, pick & pack, retail checkout, and returns.
You’ll learn how to choose the right barcode type, set safe sizing, protect quiet zones, control print contrast/material, and validate with a repeatable testing workflow before mass production.
Step 1: Choose the right barcode type (symbology) for your use case
Start with the standard required by your channel and internal systems. A barcode can look perfect and still be “wrong” if it encodes data in an unexpected format.
- EAN-13 / EAN-8: Common for retail product barcodes. Confirm what your retailer/POS expects.
- UPC-A: Retail-focused, common in North America. Don’t assume compatibility elsewhere.
- Code 128: Strong choice for logistics, cartons, and internal tracking; supports compact alphanumeric encoding.
- Code 39: Widely supported but less dense, often requiring more label space for longer strings.
- GS1-128: For structured data (e.g., lot/batch, expiry) using Application Identifiers; often required in regulated supply chains.
- QR Code / Data Matrix (2D): Best for higher data density (URLs, serialisation, traceability) in a small area; confirm all scan points support 2D.
Decision tip: Choose symbology based on every scan point (line, warehouse, 3PL, retail), not just what fits on the label.
Step 2: Set a safe barcode size (X-dimension, height, and label space)
Barcode size is not only width. For 1D codes, the key is the X-dimension (narrowest bar/module). If it’s too small for your printer resolution, bars merge and scanners read the wrong pattern.
2.1 Match size to print method and resolution
- Thermal transfer: Common for logistics/industrial labels; can produce crisp edges with correct ribbon/stock plus speed/heat settings.
- Direct thermal: Convenient, but can fade with time/heat; consider label lifecycle and storage conditions.
- Digital/offset (packaging/branding): Works well, but avoid effects that reduce contrast or distort edges (varnish, embossing, gradients).
Practical rule: Avoid making the narrow bar only a couple printer-dots wide. If unsure, print multiple sizes and validate with real scanners (Step 5).
2.2 Don’t over-compress width; keep enough height
Squeezing width to “make it fit” increases sensitivity to print gain, smudging, and curvature. Height matters too: taller 1D barcodes give scanners more usable scan lines.
- Curved surfaces (bottles/tubes): Keep the barcode as wide/tall as practical and place it on the least-curved panel.
- Corrugated cartons: Consider a larger code and avoid deep flutes or rough textures that break edges.
Label space tip: If packaging space is tight, adjust layout elements rather than shrinking the barcode to the point it becomes unreliable.
Step 3: Protect the quiet zone (and stop design elements from “invading” it)
The quiet zone is the clear margin around the barcode that helps scanners detect the start and end. If other elements intrude, scans can fail or become slow and inconsistent.
3.1 What commonly breaks the quiet zone
- Border boxes placed too close to the bars
- Background textures/gradients (including kraft-style speckles)
- Badges and icons (e.g., “HALAL”, “NEW”, “PROMO”) crowding the barcode
- Die-cut edges or rounded corners too near the code
- Varnish/foil/lamination that adds glare or lowers contrast
Workflow habit: Keep the barcode on its own artwork layer and mark a visible “do not cross” quiet-zone box so it’s treated as a hard production constraint.
3.2 Allow for real-world production tolerance
Registration shift, trimming movement, and print spread happen in production. Build extra breathing room so small shifts don’t invalidate the quiet zone.
Step 4: Control contrast, colour, and material so scanners can “see” clean edges
Most scan failures come from low contrast, glare, or soft edges. A barcode is a machine-readable pattern, so prioritise scan performance over visual effects.
4.1 Use high-contrast combinations
- Best practice: Dark bars on a light background (often black on white).
- Avoid: Inverted (light-on-dark) codes unless you’ve proven they work across your devices.
- Be careful with: Metallic inks, transparent labels, and coloured bars where reflectance difference is low.
For glossy stocks (including many PP labels), glare under warehouse lighting can hurt scan consistency. Matte label materials or matte lamination often improve reliability.
4.2 Keep the barcode free from print effects
- Emboss/deboss in the barcode area
- Spot UV on bars or background
- Strong textures behind the code
- Overprinting with semi-transparent brand colours
Packaging note: Add a clear spec in print notes: “no varnish/foil/UV over barcode + quiet zone.”
Step 5: Use a repeatable testing workflow (from file proof to production line)
Testing is a process, not a last-minute scan with one device. The goal is consistent first-pass scanning across scanners, distances, angles, and lighting.
5.1 Pre-print checks (artwork stage)
- Confirm encoded data: Validate GTIN/EAN, SKU, lot/batch, expiry, or URL. A single wrong digit can create perfectly-scannable wrong data.
- Lock scaling: Avoid last-minute resizing that changes proportions or compresses width.
- Export correctly: Keep the barcode as vector or high-resolution output; low-res raster exports blur edges.
- Re-check quiet zone: Verify clear space after all layout changes.
5.2 Print a small pilot run (final materials + settings)
Test using the final combination of material and production conditions, including:
- Label stock (paper, PP, polyester) and finish (matte vs glossy)
- Adhesive and application surface (glass, HDPE, corrugated)
- Ribbon type for thermal transfer (wax/wax-resin/resin)
- Printer model/resolution and real speed/darkness settings
Why it matters: A barcode that works on a flat proof may fail on a glossy label roll applied to a curved bottle.
5.3 Scan testing in your real environments
- Test devices: Scan with warehouse handhelds, receiving/dock scanners (if different), and retail/POS scanners when applicable.
- Test distances: Typical working distance plus slightly farther to reveal borderline print quality.
- Test angles and lighting: Straight-on and slight tilt under your actual lighting.
- Test after handling: Rub/abrasion, temperature transitions (e.g., cold room to ambient), and short ageing checks if fading is a risk.
- Test through packaging: If scanning through shrink wrap or film, test for reflections/glare.
Pass/Fail definition: Use a measurable target (e.g., “first-scan success rate under normal conditions”), not “eventually scans.”
5.4 Troubleshooting when scans fail
- Fails on all scanners: Check symbology/data, file output corruption, quiet zone violations, or X-dimension too small.
- Fails mainly on glossy stock: Address glare (matte finish, placement change, or larger code).
- Fails after increasing printer speed: Reduce speed and tune darkness/heat; verify ribbon/stock compatibility.
- Fails on curved surfaces: Increase size, reposition to flatter area, or use a more conformable label construction.
Step 6: Production handover checklist (so the design stays scannable at scale)
Many problems appear during handover between design, printer, and factory. Use a simple checklist to keep output consistent.
- Print-ready artwork: Provide a PDF with barcodes preserved as vector where possible; confirm no unintended scaling.
- Data governance: Document the approved data source (ERP/PIM) and who signs off.
- Material/finish spec: Match environment needs (moisture, chemicals, abrasion, cold room) to stock and lamination.
- Placement + keep-clear: Show exact location and quiet-zone requirements on dielines/packaging layouts.
- Printer baseline: For in-house printing, record known-good settings per label SKU (speed, darkness, ribbon type).
- QC sampling: Define scan-test sampling frequency per roll/batch during production and packing.
If output stability and rapid replenishment matter, align label production with a supplier who can support both printed labels and the on-site consumables/settings needed to keep edges crisp.
Related packaging considerations (when barcodes live on boxes, pouches, and food packaging)
When barcodes share space with branding, nutrition panels, and regulatory info, the same rules apply: protect the quiet zone, maintain contrast, and avoid distortion.
- For barcodes printed on product boxes, coordinate dielines and print tolerances early. See packaging box printing options that balance presentation with reliable scanning.
- For folding cartons/custom structures, choose flatter panels and avoid folds/seams near the code. Reference custom box printing for structures that keep a consistent scan area.
- For food containers, moisture/oil exposure affects readability and durability. Material choice and lamination help; see food packaging printing when the barcode is part of a wider packaging run.
Conclusion: Build scanning reliability into the design, not after the complaints
Reliable scanning comes from disciplined fundamentals: correct symbology, safe sizing, protected quiet zones, strong contrast, and validation on real materials using real scanners. Treat barcodes as an operational control, not just a graphic, and you reduce rework, shipping delays, and costly relabelling.
When updating an existing label, start with a pilot batch, run the testing workflow, then lock the approved size and placement into your templates so every future SKU follows the same rules.
Frequently Asked Questions
What is the quiet zone in a barcode, and why does it matter?
The quiet zone is the blank margin around a barcode that tells the scanner where the code begins and ends. If text, icons, borders, or background patterns enter that space, scanners may fail to detect the barcode edges, causing slow scans or misreads. Always reserve clear space on all sides and allow extra buffer for print/trim tolerances.
Why does a barcode scan on screen but fail on the actual label or packaging?
On-screen or office proofs don’t replicate real production variables such as glossy material glare, ink spread, ribbon/label mismatch, low print resolution, curved surfaces, shrink wrap reflections, or faster printer speeds. The fix is to test using the final material, final finish, and real printer/scanner setup before mass production.
How do I choose between EAN-13, Code 128, and QR Code?
Use EAN-13 (or EAN-8) when you need retail POS compatibility. Use Code 128 for internal logistics, carton labels, and inventory tracking where you may encode alphanumeric data. Use QR Code (or other 2D codes) when you need to store more data in a smaller area or want phone-readable links—but confirm all your scan points support 2D scanning.
What label material is best for durable barcode labels in warehouses or factories?
For industrial environments, synthetic materials such as PP or polyester are commonly used because they resist moisture and tearing better than standard paper. The best choice depends on your exposure (heat, chemicals, abrasion) and print method (thermal transfer vs other). Pair the correct ribbon and settings to keep bar edges crisp for consistent scanning.
Can a barcode printer supplier in Malaysia help improve scan reliability, not just sell hardware?
Yes. A good supplier can advise on printer model selection (desktop vs industrial), label stock, ribbon type, and baseline print settings, then help you test sample prints before you scale up. That support is often what prevents common issues like blurred bars, inconsistent darkness, or poor performance on glossy or curved surfaces.
Need barcodes that scan reliably on your labels and packaging?
Altrapac helps Malaysian businesses get barcode labels right from the start—material selection, print-ready setup, and production support for labels, stickers, and packaging that must scan consistently in real operations. Whether you’re running product labels, carton labels, or industrial identification labels, we can recommend suitable stocks (including PP and specialty materials) and align output with your workflow.
Talk to our team to review your barcode use case and plan a pilot print before you scale.